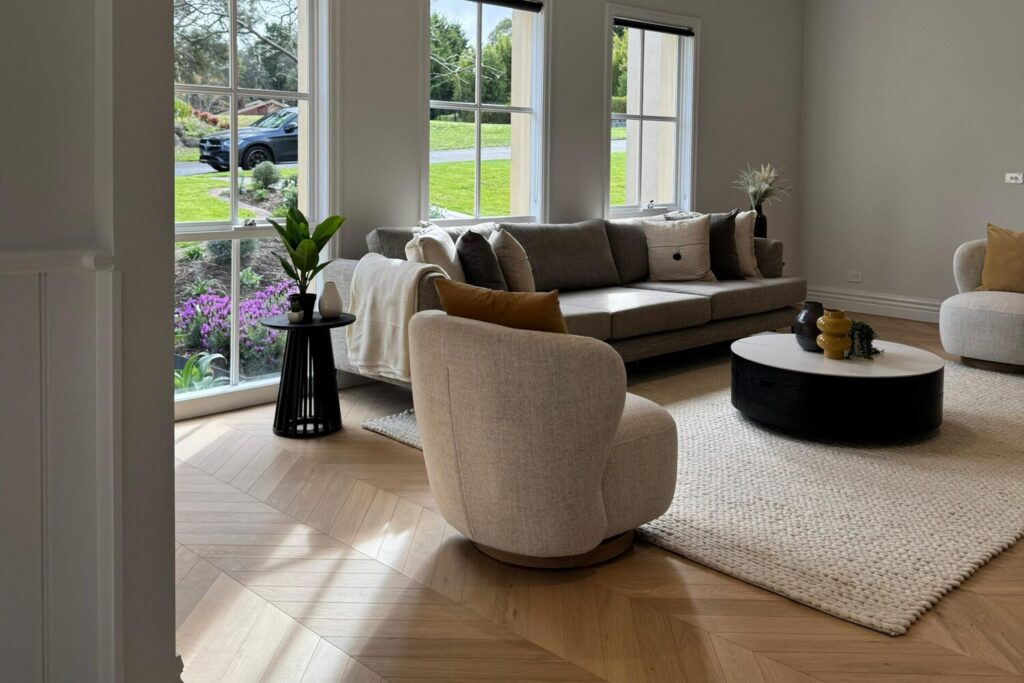
Knowing what happens on installation day makes a timber floor project easier to plan. This guide walks through timber flooring installation step by step, from the measure to the first week of living on your new floor. It focuses on engineered timber, the most common timber floor we install, with notes on solid timber. For how floating, glued and nailed methods differ, see our guide to floating timber floors.
Step 1: Measure and quote
A measure confirms the room sizes, checks the subfloor’s level and moisture, and notes doorways, stairs and transitions to other floors. The written quote covers the flooring, underlay or adhesive, trims, preparation and installation. See what is included in your quote.
Step 2: Choose the installation method
The method depends on the product and the subfloor:
Floating: click-together boards over an underlay, with an expansion gap at the walls. Many engineered ranges, such as Swish Oak Wideboard, are laid this way.
Glued down: boards bonded to the subfloor with flooring adhesive. Royal 14/2mm Oak can be floated or fully trowel glued.
Nailed or secret nailed: traditional for solid timber over joists or battens. Not every engineered board can be nailed; Royal Aus Timber 14/3mm is floating or glued only.
Timber is a natural material that responds to the humidity of the room. Makers such as Swish say boards need to acclimatise before laying, so they are delivered ahead of time and left in the rooms where they will go, in their packs, as the installation guide directs. Keep the house at normal living conditions during this time.
Step 4: Prepare the room
Clear furniture, rugs and anything stored on the floor.
Remove the old floor covering if it is coming up, such as carpet and underlay.
Remove or loosen skirting boards if the plan is to fit the new floor under them.
Check doors will clear the new floor height; they may need trimming after installation.
Step 5: Prepare the subfloor
The subfloor must be flat, sound and dry. That can mean grinding high spots, filling dips, levelling compound or fixing loose boards. Our subfloor preparation guide covers this step in full.
Step 6: Moisture barrier and underlay
On concrete, a moisture barrier goes down first. For Royal timber ranges our installation guide requires a 200 µm plastic moisture barrier with taped joins under floating installs, and a moisture barrier under glued installs too. Floating floors then go over the specified underlay.
Step 7: Plan the layout
Decide the board direction. Running boards along the longest wall or towards the main light source often looks best.
Set out the first row straight, with the expansion gap at the wall, so the whole floor runs true.
Plan the last row so it is not a thin sliver.
Mix boards from several packs so colour and grain spread naturally across the room. Timber varies from board to board.
Step 8: Lay the boards
Boards go down row by row with the end joins staggered so they do not line up. Floating boards are clicked together; glued boards are pressed into adhesive spread with a trowel. Door frames are usually undercut so boards slide underneath for a clean finish. Herringbone and chevron patterns take longer, as each board is set from a centre line. See our herringbone vs chevron guide.
Step 9: Trims, skirting and finishing
Fit skirting or scotia to cover the expansion gap. Nothing should pin a floating floor in place. Our expansion gaps guide explains why.
Fit trims at doorways and where timber meets tiles, carpet or other floors.
The floor is vacuumed and checked with you before the team leaves.
Put felt pads on furniture legs before moving furniture back, and lift rather than drag.
For glued floors, follow the adhesive maker’s guide on when to walk on the floor and return furniture.
Clean with a damp mop and a cleaner made for timber floors. Swish, for example, rules out oil-based, ammonia, wax, silicone and solvent products for its UV-finished floors.
How long does it take?
It depends on the area, the method, the pattern and how much preparation the subfloor needs. A straightforward floating floor in a few rooms is faster than a glued herringbone through a whole house. Your quote will set out the expected timing.
Yes. Timber responds to room humidity, so makers such as Swish say boards need to acclimatise before laying. Follow the time and conditions in the installation guide for your range.
Can engineered timber be nailed down?
Some can, but not all. Royal Aus Timber 14/3mm, for example, is floating or glued only. Check the installation guide for your range.
Do I need a moisture barrier under timber flooring?
On concrete, yes. For Royal timber ranges a 200 µm plastic moisture barrier goes under floating installs, and glued installs need a moisture barrier too.
Will my doors need trimming?
Sometimes. The new floor may be higher than the old one, so doors are checked and trimmed if needed after installation.
Can furniture go back straight away?
For floating floors, usually yes, with felt pads fitted first. For glued floors, follow the adhesive maker’s guide on curing time.